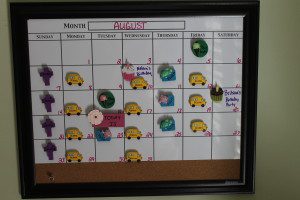
A few weeks ago I set out to find a calendar for my two-year-old daughter, Baylor. I wanted her to be able to see what was on our calendar each day and learn the days of the week. To say my search came up short is an understatement. So I decided to create a personalized calendar. Here’s the final product…tada:
Here’s what I did to get there:
1. Start out by making a list of all the things you want to include; school days, birthdays, play dates, swim lessons, church and family get togethers, etc. All the things you do in a week or month. Include holidays and vacations too. 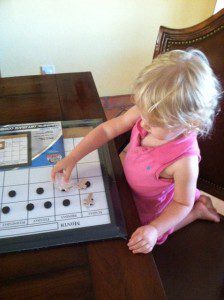 2. Hit the craft store. Now is a great time of year to find sale items from back to school promotions and this includes calendars. I picked out a framed white board. You could also use chalk boards, peg boards or any other surface. Be sure to consider how you are planning to use the activity icons. For example, I used a white board so I hot glued my icons to magnets. You could also use cork board and glue to push pins. Michaels is always a great source – be sure to look online for coupons too!
3. Create your icons. I used small wooden shapes from the craft store and little doo dads I also found at the store. Painting the wooden pieces and then hot gluing them all together was a little more labor intensive than I anticipated. The wooden pieces required more than 3 coats of paint to look good. Think about either spray painting or using pre painted or colored pieces. 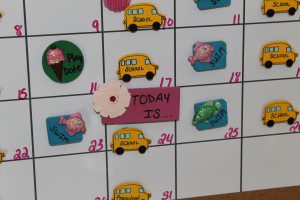 Scrap book details are great too because they require much less work to assemble into icons. The trick is to find pieces that are sturdy enough to survive being moved on and off the board. Or stick the icons to wood, cardboard, plastic, anything sturdy and then hot glue to a magnet. JoAnn Fabrics is a fantastic source for scrap-booking supplies and other pretty things.
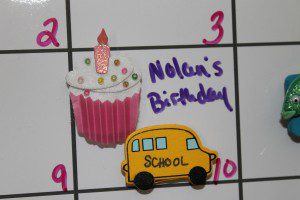 4. Get them on the board! Hang the board where your kiddo can see it (I chose to put it out of Baylor’s reach so that it stood a chance). When we get a moment, we move the “today is” magnet and then get excited about what the day’s activities are.
5. Keep it organized – find a little box, bucket or basket to store the icons when they’re not being used. 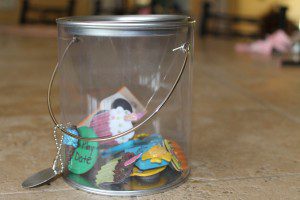 6. Add to it. Create new activity icons, vacations, holidays, even just the month itself! Have fun with it and use it as a tool to keep your kiddos organized, teach them about planning and anticipating and most of all getting excited about all the fun things going on!
That’s it! Happy planning!








Very, very cute idea! Thank you for sharing.
I love this idea!! I have been wanted to either get or create a calendar for a while now:) You have inspired me! Thanks!
Comments are closed.