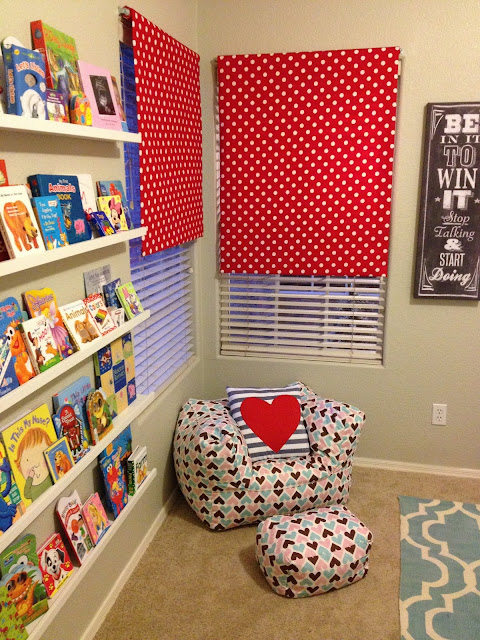
We’re packing up and moving to a new neck of the woods! In the name of cleaning up, shipping out and staging for a quick sale, I posted the DIY Roller Shades I made for our playroom on one of those Swip Swap Facebook Groups. Turns out everyone was going bananas for these shades, and rather than buying the ones I already made (bittersweet), they kept asking me how I made them! Sharing my secrets (which aren’t so secret; these are so easy it’s silly) seemed like my duty!
Here’s my step by step guide to getting this done quickly and STYLISHLY!
STEP ONE:
Measure your window width; don’t worry too much about the length unless abnormally tall or short. You will also need to determine if you will mount the shades from the inside of the window frame or on the outside. If you mount on the outside, you’ll want a LONGER width than the inside, typically by at least an inch so the shade hangs over the window frame.
Then head to your neighborhood hardware or big box store. Skip walking around for 25 minutes trying to find the small aisle cap with the very limited selection of roller shades and just ask someone. I assume the selection or lack there of is due to the fact that these roller shades are UGLY until you work your magic on them. There is NO chance I would have EVER considered using roller shades as window treatments without some serious tweaking! The 70s called and want their treatments back! Anyhow, hopefully the kind associate that leads you to the stock will also let you know they will cut the shades to your desired width, for free. The ones we purchased were on sale for $5.97 each; below are the specs online. Don’t forget the mounting brackets!
STEP TWO:
Head to the fabric store of your choice and select your fabric and purchase your no sew fabric glue. I love bold and graphic prints, so that is exactly what we went with. If you’re looking to make a statement with small windows, select something that speaks! If your window is larger and you would like to treat it to let another stunning piece shine, select a solid or a pattern that may appear a little more subdued. Do some quick math before having your fabric cut and ensure you have a little scrap.
For 2 windows that were 35″ wide and 72″ long, I purchased 4 yards. I brought a coupon for 40% off fabric by the yard so my grand total for 4 yards of home decor fabric was $18! You do not need to use something really thick – as a matter of fact, thinner the better.
STEP THREE:
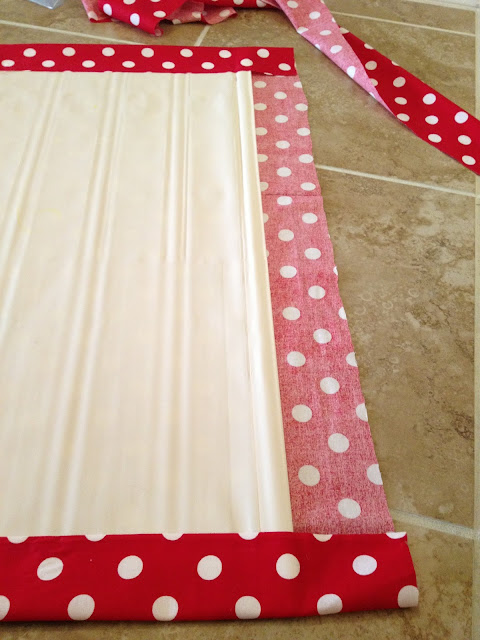
Clear a large flat and clean space to lay out your fabric and unroll the roller shade. Fabric goes down first, pattern down. Then place roller on top of pattern, arranged showcasing your pattern to your liking.
STEP FOUR:
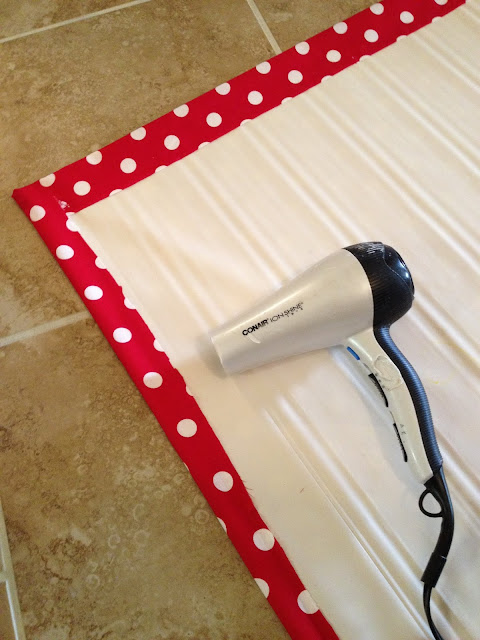
Fold the two corners over tightly like folding wrapping paper and glue.
Your glue will say 24 hours dry time; I sped it up with a hairdryer. Ultimately, the dry time was about 3 hours. Be sure it is DRY before rolling!
STEP FIVE:
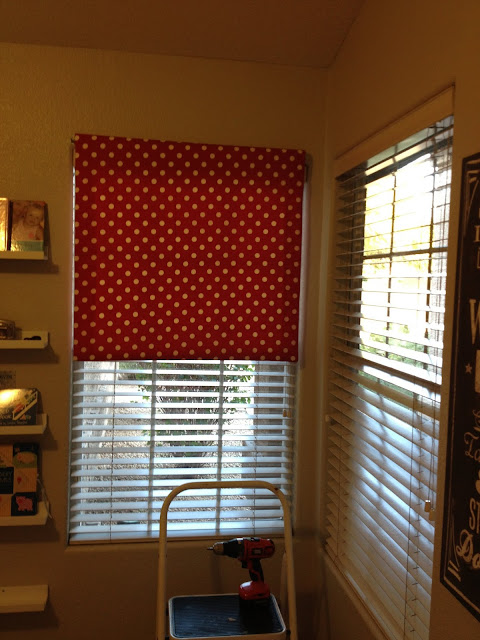
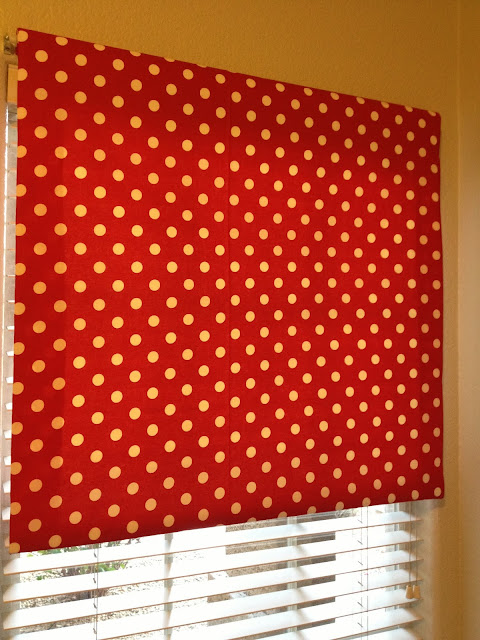
TA DA! No Sew DIY Fabric Roller Shades are complete! $28 and about 2 hours total time later, we have custom looking window treatments that scream style! Here’s another thought: If you are looking for more of a valance look, only line a small area of the shade that will be visible as it sits over the window. The shade won’t functionally be able to roll down and cover the whole window but it will give the window a completely dressed look! This option will also cut down on fabric costs if you have a long window, or are using the shades for aesthetic purposes only.
Don’t be shy; go out and get it done! Leave comments, ask questions! Trust me, YOU CAN DO IT!








Love this idea and your baby room is so cute — You are an awesome designer!!
Comments are closed.